SDKs
React Native SDK
Overview
This section explains how to integrate the DataSenses-SDK into your Android applications. This includes steps such as incorporating the SDK into your project, initializing it, and sending custom events as needed.
Step 1: Install the React native SDK
Using the Package Manager
npm install [email protected] --save
Android Configuration
- Add the following to your
dependenciessection in project/build.gradle:
classpath('com.google.gms:google-services:4.4.1')
- Add the end of the app/build.gradle file, add the following:
apply plugin: "com.google.gms.google-services"
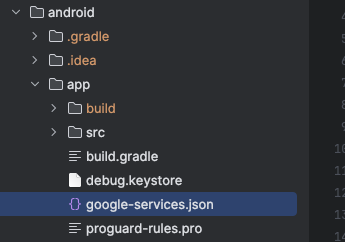
- Add
google-services.jsondownloaded from DataSenses's dashboard to theappfolder
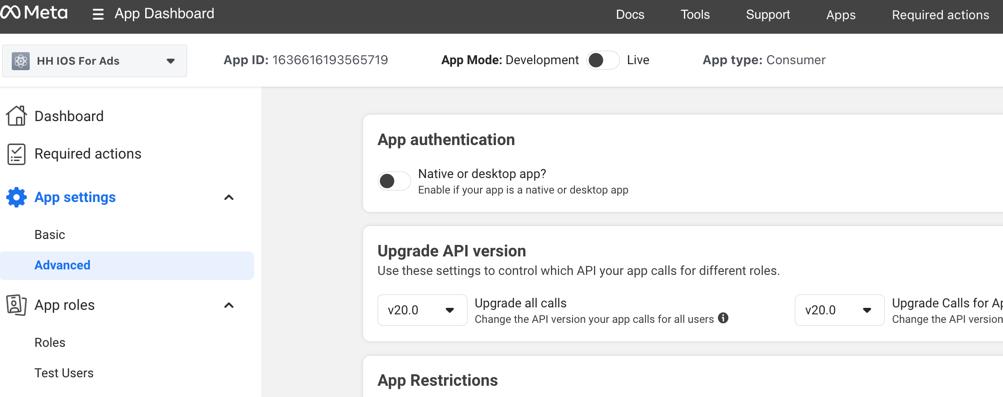
Facebook integration
If your app is not running advertising on Facebook or already integrated with facebook-ios-sdk to run ads, then no need to add the following
Add to res/values/strings
<resources>
    <string name="app_name">Your Facebook App Name</string>
    <string name="facebook_app_id">facebook_app_id</string>
    <string name="facebook_client_token">facebook_client_token</string>
</resources>
iOS Configuration
- Add the following to your
podfilein ios folder:
pod "Datasenses-iOS", :git => '[email protected]:datasenses/datasenses-ios.git', :tag => '0.3.3'
- Add FacebookCore package via the Swift Package Manager
https://github.com/facebook/facebook-ios-sdk //with version 17.0.3 and only need FacebookCore package
- Add the
GoogleService-Info.plistto ios folder. If prompted, select to add the config file to all targets.
Facebook integration
Then add the following to Info.plist. If your app is not running advertising on Facebook or already integrated with facebook-ios-sdk to run ads, then no need to add the following
<key>CFBundleURLTypes</key>
<array>
  <dict>
  <key>CFBundleURLSchemes</key>
  <array>
    <string>fbAPP-ID</string>
  </array>
  </dict>
</array>
<key>FacebookAppID</key>
<string>APP-ID</string>
<key>FacebookClientToken</key>
<string>CLIENT-TOKEN</string>
<key>FacebookDisplayName</key>
<string>APP-NAME</string>
<key>SKAdNetworkItems</key>
<array>
    <dict>
        <key>SKAdNetworkIdentifier</key>
        <string>v9wttpbfk9.skadnetwork</string>
    </dict>
    <dict>
        <key>SKAdNetworkIdentifier</key>
        <string>n38lu8286q.skadnetwork</string>
    </dict>
</array>
<key>FacebookAutoLogAppEventsEnabled</key>
<true />
<key>FacebookAdvertiserIDCollectionEnabled</key>
<true />
Step2: Initialization
Import datasenses in a React Native project
import DataSensesSDK from 'datasenses-react-native-sdk';
Android Integration
import com.datasense.sdk.DataSenses
override fun onCreate() {
   DataSenses.init(this, "xxxxxxx")
}
iOS Integration
Add the following code to didFinishLaunchingWithOptions in AppDelegat
#import <Datasenses_iOS/Datasenses_iOS-Swift.h>

[Datasenses initializeWithApiKey:@"xxxxxxxx" launchOptions:launchOptions];
[[Datasenses shared] application:application didFinishLaunchingWithOptions:launchOptions];
Handle deeplink
// Add this method to handle incoming URLs
- (BOOL)application:(UIApplication *)application openURL:(NSURL *)url options:(NSDictionary<UIApplicationOpenURLOptionsKey,id> *)options
{
   BOOL _ = [[Datasenses shared] handleUrl:application url:url options:options];

   return [RCTLinkingManager application:application openURL:url options:options];
}
Step3: Send Events
3.1: Share notification token to DataSenses
Android , Read an example to get the Firebase notification token
DataSensesSDK.registerAndroidNotification("xxxxxxxxxxxxx");
iOS , Read an example to get the Firebase & Apple notification token
DataSensesSDK.registerIOSNotification(token: "xxxxxxxxxxxxx", apnToken: "xxxxxxxxxxxxx")
3.2. Send Login Event
We use login event to identify the customer. Naming convention of fields need to be followed by our format.
DataSensesSDK.trackEvent('login', {
    "customer_id": "123456", // String - We use customer_id field as customer's id,
    "email": "[email protected]", // String - We use email field as customer's email
    "phone": "84999999999", // String - We use phone field as customer's phone
})
3.3. Send Charged Event
We use charged event to calculate the revenue, ROI, Marketing performance of your project.
Note:
- If you want to monitor revenue of your product. You need to add the items filed with item_id as product's id for us to proceed this event
DataSensesSDK.trackEvent('charged', {
    "items": [
        {"category": "Phone", "name": "Iphone X", "price": 119000000, "item_id": "2", "qty": 1},
        {"category": "Phone", "name": "Samsung Galaxy", "price": 119000000, "item_id": "3", "qty": 1},
    ], // Array - We use items field as list of items of the conversion event, must have item_id, name, price, qty of each item
    "charged_id": "123", // String - Use charged_id field as a conversion's id
    "amount": 238000000 // Number - We use amount field as a conversion's value
})
3.4. Send Customized Events
You can add any additional events
DataSensesSDK.trackEvent('add_to_cart', {
    "category": "Phone", // String, To analyze more efficiently, please don't change name of the field
    "name": "Iphone X", // String, To analyze more efficiently, please don't change name of the field
    "price": 119000000, // Number, To analyze more efficiently, please don't change name of the field
    "item_id": "2", // String, To analyze more efficiently, please don't change name of the field
    "qty": 1 // Number, To analyze more efficiently, please don't change name of the field
})
3.5. Add Deeplink Listener
If your app need be tracked the deeplink event. Please add the following code after React Native finishing the deeplink url
DataSensesSDK.listenDeeplink(url);
An example: How to implement the deeplink listener with DataSenses SDK
- Android: config the deeplink by adding the following block to
AndroidManifest.xml
 <intent-filter>
   <action android:name="android.intent.action.VIEW"/>
   <category android:name="android.intent.category.DEFAULT"/>
   <category android:name="android.intent.category.BROWSABLE"/>
   <data android:scheme="myapp"/> // Replace "myapp" with your custom scheme
</intent-filter>
- iOS: config the deeplink by adding the following block to
Info.plist
<key>CFBundleURLTypes</key>
<array>
  <dict>
    <key>CFBundleURLSchemes</key>
    <array>
      <string>myapp</string> // Replace "myapp" with your custom scheme
    </array>
  </dict>
</array>
- React Native: Add the deeplink listener to your react native project
const Stack = createStackNavigator<RootStackParamList>();

const linking: LinkingOptions<RootStackParamList> = {
   prefixes: ['myapp://'],
   config: {
      screens: {
         Home: '',
         Details: '/details/:id',
      },
   },
};

function App(): React.JSX.Element {
   useEffect(() => {
      const handleDeepLink = (event: any) => {
         const url = event.url;
         if (url) {
            console.log('Received deep link:', url);
            DataSensesSDK.listenDeeplink(url);
         }
      };
      const subscription = Linking.addEventListener('url', handleDeepLink);
      Linking.getInitialURL().then(url => {
         if (url) {
            handleDeepLink({url});
         }
      });
      return () => {
         subscription.remove();
      };
   }, []);

   return (
     <NavigationContainer linking={linking}>
        <Stack.Navigator initialRouteName={'Home'}>
           <Stack.Screen name="Home" component={HomeScreen} />
           <Stack.Screen name="Details" component={DetailsScreen} />
        </Stack.Navigator>
     </NavigationContainer>
   );
}